Hey Guys!
Big apologies to those of you following this blog. It was supposed to go up yesterday, but in the midst of a lot of birthday stuff this weekend, I dedicated monday to relaxing and ended up completely forgetting to post my blog. But non the less here it comes.
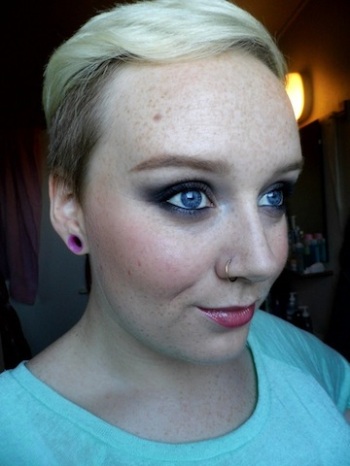
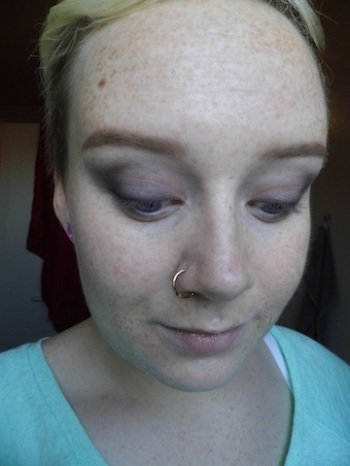
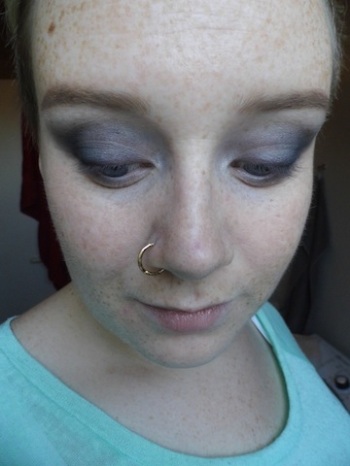
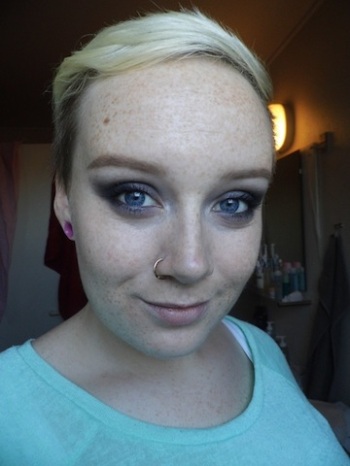
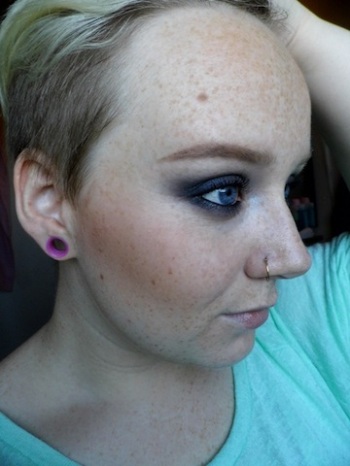
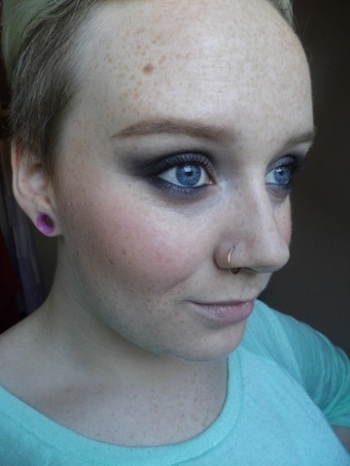
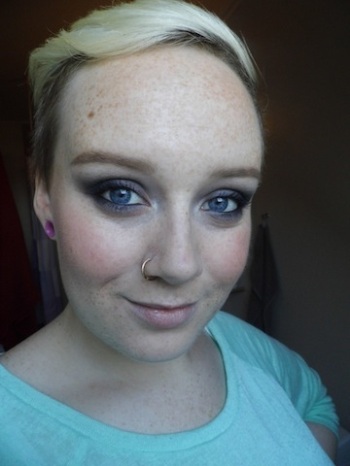
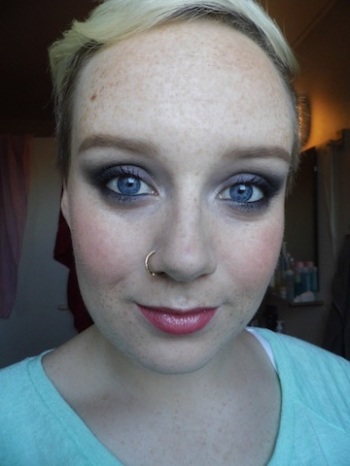
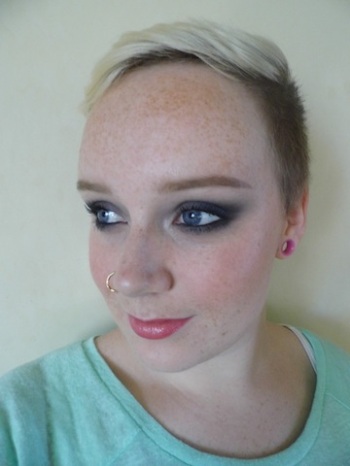
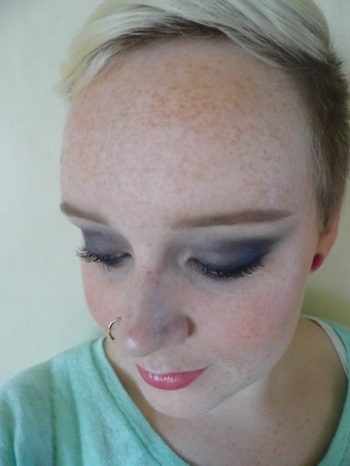
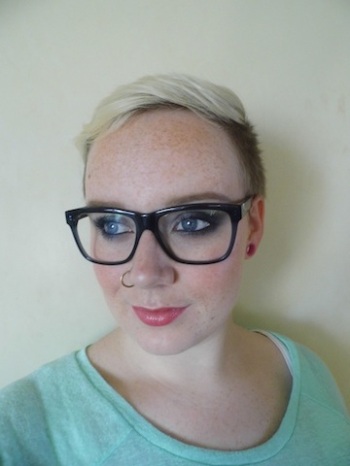
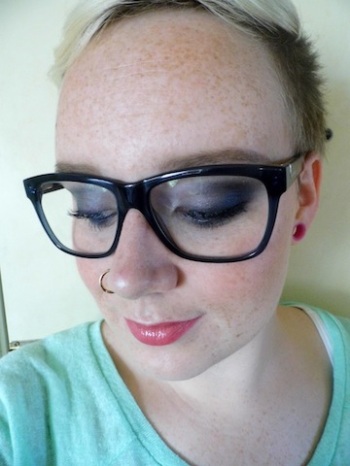
A few weeks ago I fixed up one of my friends for a party she was attending and I ended up loving the look so much that I decided to share it with you guys. The look is a sort of smokey eye with a blue tint and pink lips. I think it’s a look that goes for many different events like birthdays, christenings, any happy event really. Listed below is a list of the products used along with a step by step tutorial of how I did it.
Products used are:
Face:
– Nivea Express Hydration Primer
– Rimmel Wake Me Up Concealer in 010 Ivory
– Bourjois Delice De Poudre Bronzer
– Max Faxtor Blush in 225 Mulberry
– Rimmel Stay Matte Powder in 001 Transparent
Brows:
– elf Eyebrow Kit in Ash
– Finding Color Eyeshadow Palette E15 – Dark Brownish Grey
Eyes:
– elf Eye Primer
– Max faxtor Kohl Pencil in 020 Black
– Finding Color Eyeshadow palette E15 – Light and medium grey
– Wet ‘n’ Wild Blue Had Me At Hello Palette – second to darkest blue and the teal
– Wet ‘n’ Wild Single Eyeshadow in Brulee
– Rimmel Scandal Eyes Lycra Flex Mascara
– Rimmel glam Eyes Day To Night Mascara
Lips:
– The Body Shop Lip Butter in Sweet Lemon
– Maybelline Lipstick in 148 Summer pink
– Coolcoz Lipgloss in Clear
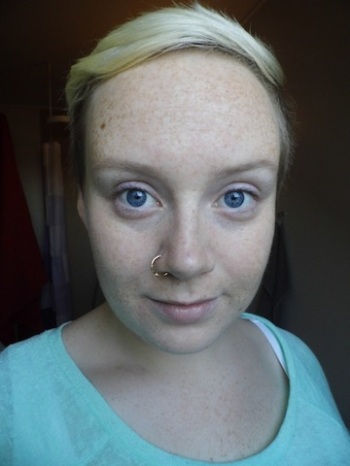
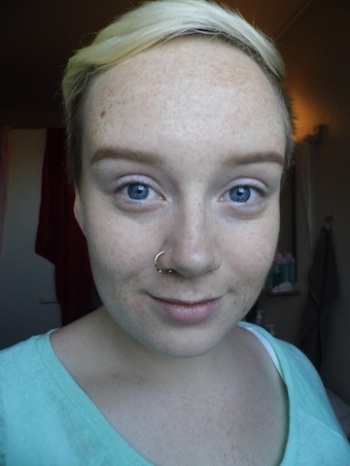
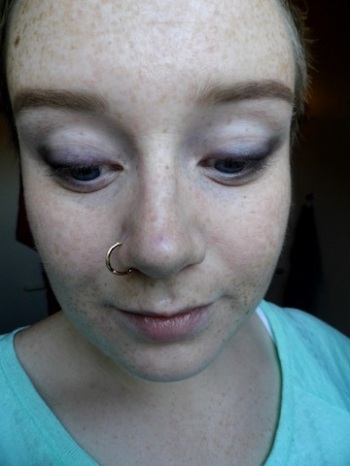
Now on to the tutorial. It was requested that I did the tutorial as a step by step in order for you to see how it looks when in progress and the effects that each step has, so that’s what I’ve done.
To begin with, I did my base. I first applied my Nivea primer to give the makeup something to cling to and so it would last longer. Afterwards I applied my concealer under my eyes, around my nose, on my chin and on any blemishes that I may have had. After this I put on the lip butter to make sure that my lips were soft and smooth when I came around to doing those.
Next I did my brows. Now, I swear that they do not look as red toned in real life. In reality they are much more cool toned and better matched with my natural hair on the side. But what I did was that I first used the creamy part of the elf brow kit to fill in and shape the outer two thirds of my brows. I then used the powder part from the elf brow kit to fill in the inner third of the brow to make a gradient from dark to light from the outside in. To set the two outer thirds, I used the dark brownish grey from the Finding Color palette. Moving on to step number three.
Alas the eyes. I started of by applying the elf eye primer to the entire lid, all the way up to my brow. then I used the black Kohl pencil on my lash line and winged it out slightly before buffing it out with a pencil brush. This step is required to give more intensity at the lash line and at the outer corner of the eye.
Afterwards I apply a light grey on my lid and the medium grey at the outer corner and slightly down to my lash line, creating the infamous V shape to give some more definition.
Next, I simply apply the second the darkest blue on top of where I just applied the medium grey, blending it into the light grey. Sometimes when you are blending, you can lose some of the intensity of the colors on the eye. Just go back in with the blue and then blend again until you have the desired intensity. I then blend out the edges of the eyeshadow and highlight under my brow by using the single eyeshadow from Wet ‘n’ Wild in Brulee.
After this I first tight line with the black kohl pencil on my lower and upper waterline. Then I use the second to darkest blue to blend out the liner on the bottom waterline followed by applying the darkest blue color on the outer part of my lower eye ended with applying the medium grey under the second to darkest blue to smoke out the look even more. I then finish the eyes by applying a good amount of mascara on both the top and bottom lashes.
After the eyes are done, I’m going to finish of the face by first applying the bronzer under my cheekbone, onto my hairline and on my jaw, to contour ad warm up my face. Now, it may seem a bit much, but once the blush and the powder is added it’s going to be much more subdued.
I then apply the blush on the apples of my cheeks and upwards along my cheekbones. Again the color seems quite strong, but the powder will take care of that.
To finish the face, I used the powder to set everything in place and really buff out the bronzer and blush to make it less harsh. You could just leave it at this with a nude lip, which would also look really good, but I decided to play it up with some more color which is my next and final step.
By now, my lips are pretty soft due to the lip butter I used in the beginning, so all I did was dap on a good amount of the pink lipstick, but not going for full opacity since this lipstick is quite frosty and I really don’t like frosty lipsticks (didn’t know it was frosty when I bought it). At last I put on some clear lipgloss to add some shine to the lips and Viola, the look is complete.
And as per usual, a few shots with the glasses.
As always, please leave a comment if you like it or have any requests as to future blogs. You can also follow me on Instagram and/or twitter, both are MrsBuchwald. Make sure to tune in next week when there will be a Birthday Haul Pt. 2 that will include both Mac and O.P.I.
Hope You enjoyed and I’ll talk to you soon !


Hi! I am just discovering your blog and I wanted to stop by and say you are so beautiful! You have such amazing skin and the smokey eye look looks great on you! Looking forward to more makeup looks from you!
LikeLike
Thank you so much, that’s amazingly sweet of you 😊
LikeLike
Your makeup is gorgeous!
– KW
http://musthaveboxes.com
LikeLike
Thank you ! ☺️
LikeLike